
Over the past couple of years I have been shooting some of my travel assignments with the Leica S2 and without question have found it to be a great tool for the job.
However, it not small and occasionally I felt as though I could do with a lighter camera that was more discrete so I tried out the M9 to see if it would fit the bill. To a great extent it did, but the difference in resolution between the M9 and the S2 made for a tricky choice and I tended to gravitate towards the S2. Then I saw the M at photokina last year and with the addition of an EVF and a big jump in resolution to 24 MP I decided the time was ripe for a change.
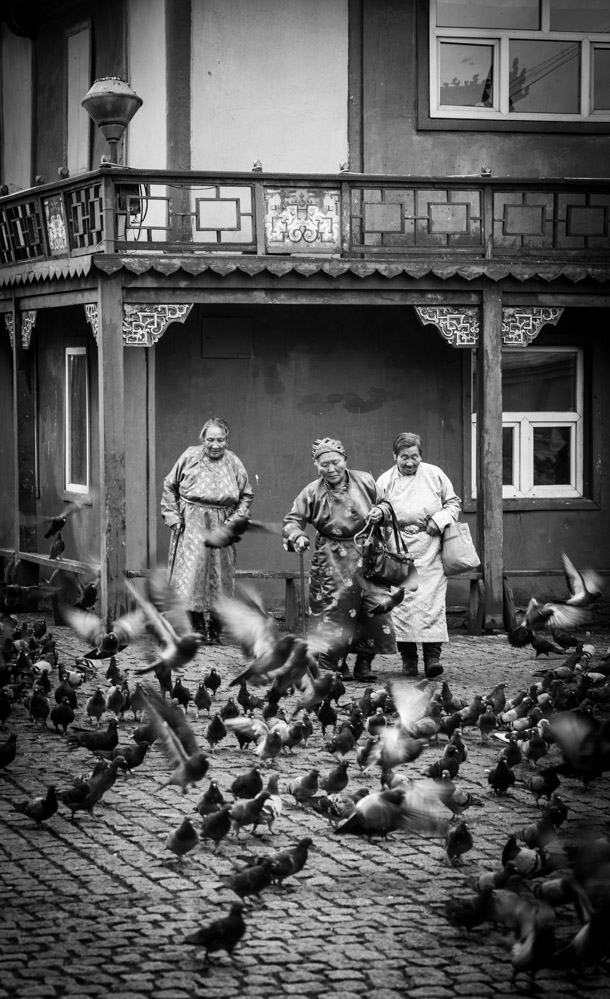
Last month I was the guest artist for a small group of photographers on a tour of Mongolia and my new M arrived the day before I departed, leaving me no time to learn its subtleties. I decided to jump in and use the M as the primary camera for the trip, just taking along a DSLR for time-lapses and as a backup — just in case…
The small gamble paid off and I found the M to be ideal for the task, although the learning curve took me a day or so to overcome.
I took four lenses — at the time I wanted to work out which ones were perfect for me so I was fortunate to be able to borrow them from Leica Australia. I tried the 18 mm Super-Elmar-M, 24 mm Summilux-M, 35 mm Summicron-M and 75 mm Summarit-M.
I found a pattern to my lens use. Looking at the metadata in Lightroom for the 1940 images that I shot, 945 were on the 75 mm, 602 on the 18 mm, against only 262 on the 24 mm and 110 on the 35 mm. This tallies nicely with my prior experience of shooting the S2, 90 percent of my images were made using the 30 mm and the 120 mm. If I had the 24 mm S lens at the time then no doubt I would have used that over the 30 mm but that was the widest lens I had available. I generally like super wide and short telephoto for my travel work and this usage pattern supports that.
The 24 mm Summilux was used less than I expected but it’s the sort of lens that when you need it, it’s the only lens for the task. It’s amazing at f/1.4 — super sharp and combined with the M’s high ISO performance I could shoot images that would be almost impossible without using a tripod. However, I’ll probably not end up buying one because it’s too close to the 18 mm in coverage — the 28 mm Summicron might be a good compromise.
The 35 mm Summicron is a great general purpose lens and if you were to only choose one lens this might be it, but for my style of shooting it is neither one thing nor the other and I think the 50 mm Summilux will be the next lens I try out.
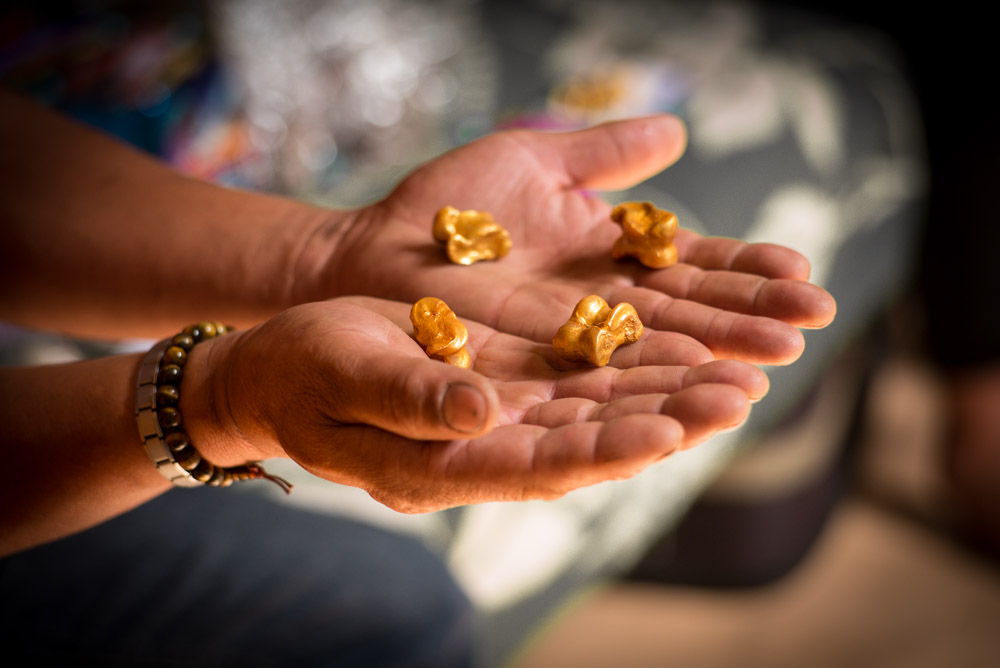
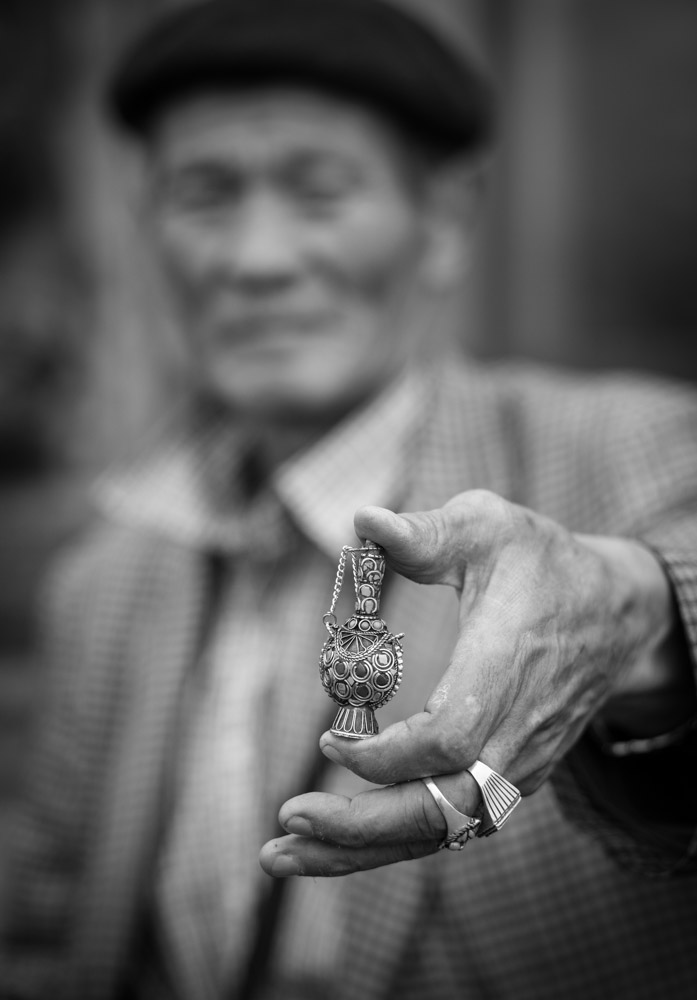
The 75 mm was awesome, I love picking out small details but I may go for the Summicron instead of the Summarit because it focuses closer and is an APO design. I may also go for the 90 mm Summicron instead of the 75 mm because, again, it’s an APO design plus it gives a bit more magnification.
Live View and the new electronic viewfinder totally transform this camera. I found that I started off wanting to use the rangefinder all the time because it is so fast and convenient, but once you put on the EVF you realise just how good the Live View focussing method is when it’s set to auto-magnify. Not only that but the bright-lines, as usual, only cover 28 mm lenses or greater so my 18 mm was hard to use with only the rangefinder window. Using the EVF of course gave me a full view of my framing which made life a lot easier.
The EVF also works really well in low light, in fact, I found it easier to focus than the rangefinder, even in gloomy interiors, particularly with the fast 24 mm lens.
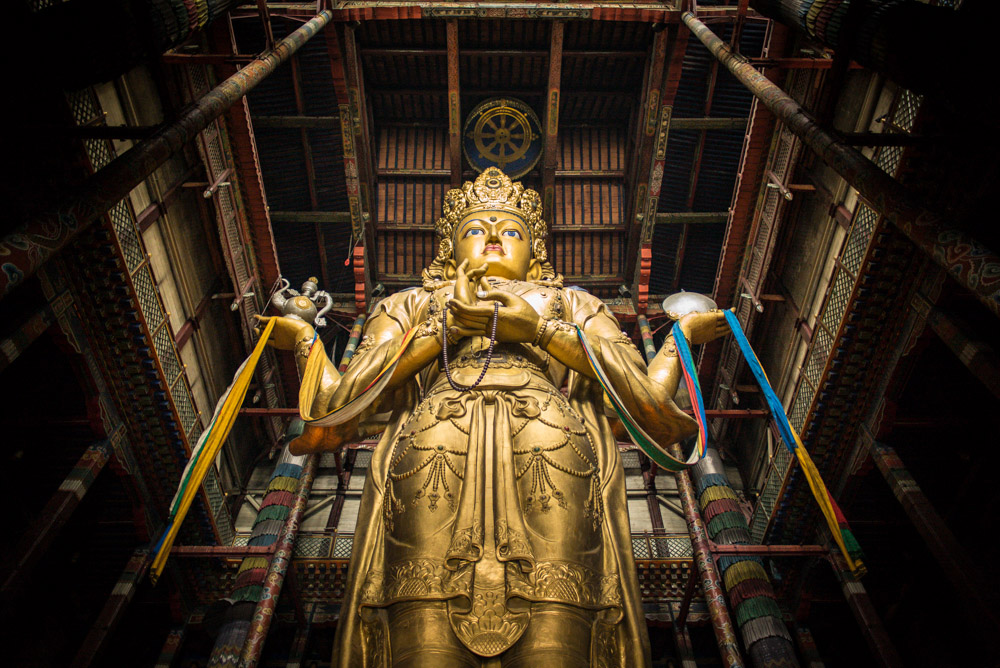
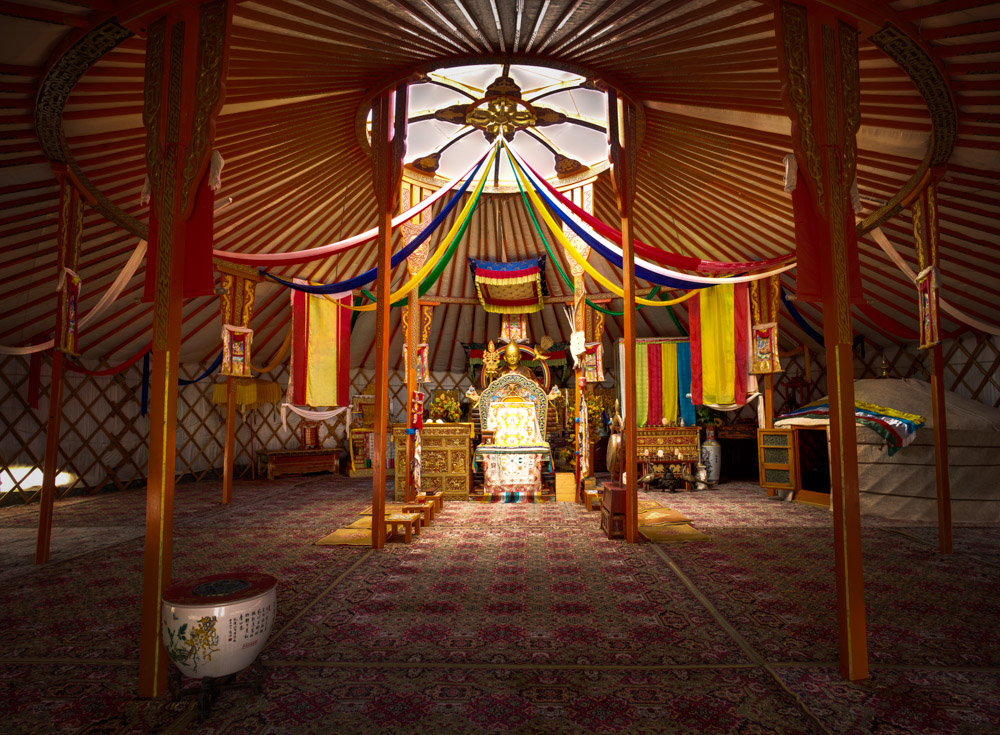
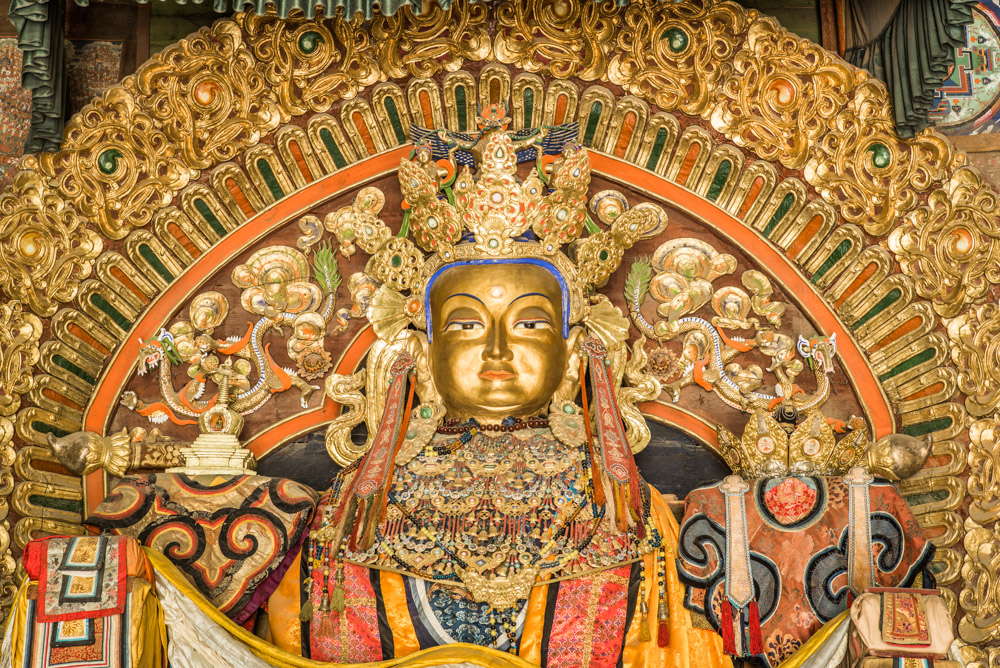
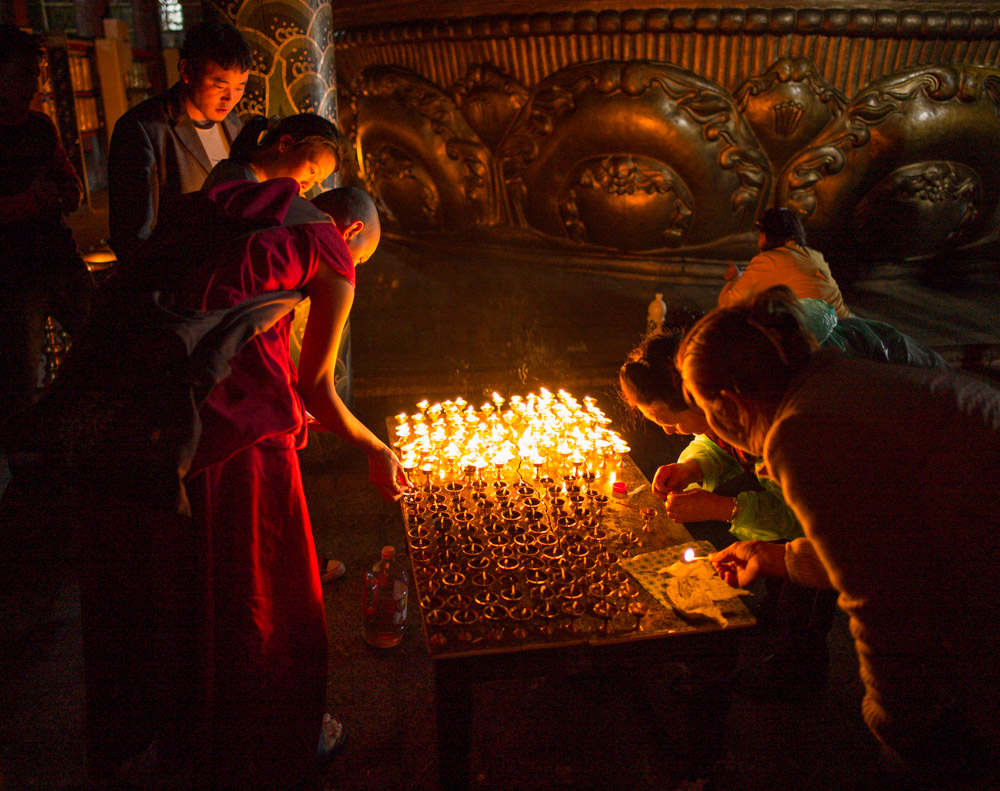
Speaking of low light, I was very impressed with the M at high ISO. There was a 26 metre statue in a temple in Ulaan Bataar that I wanted to shoot but there was a power outage when we were there. The quality of light was actually improved by the electric lights being out, but it was really very gloomy inside. I thought I’d push the camera to its limits to see what happened and I shot on the 24 mm Summilux at f/1.4, ISO 3200 using a 1/25 second exposure — hand held. I was expecting to get very little, but the result was stunning — sharp, minimal noise and a surprising amount of depth of field for such a wide aperture.
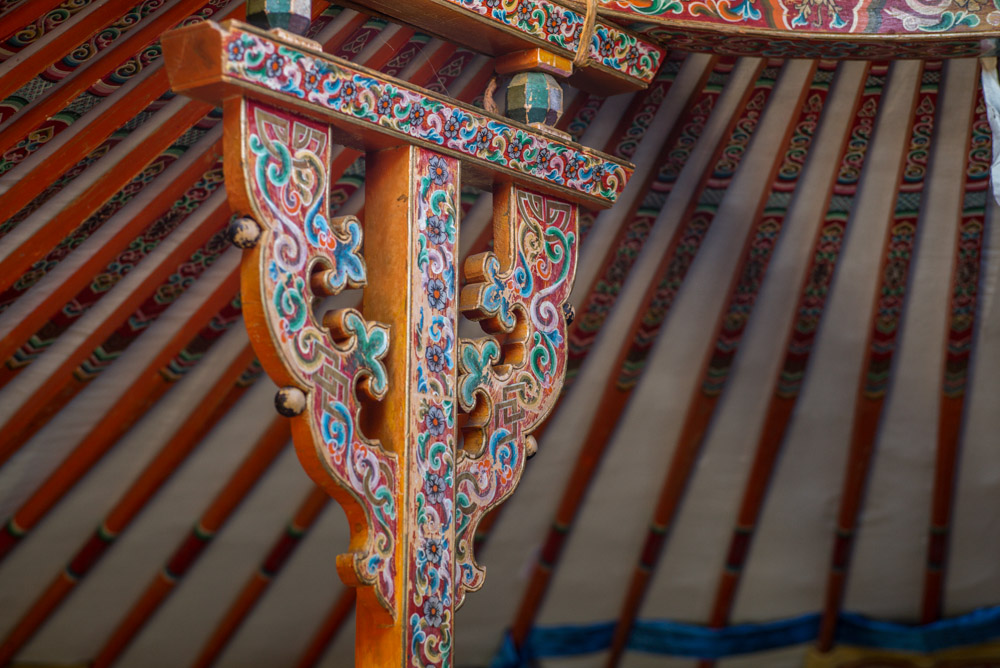
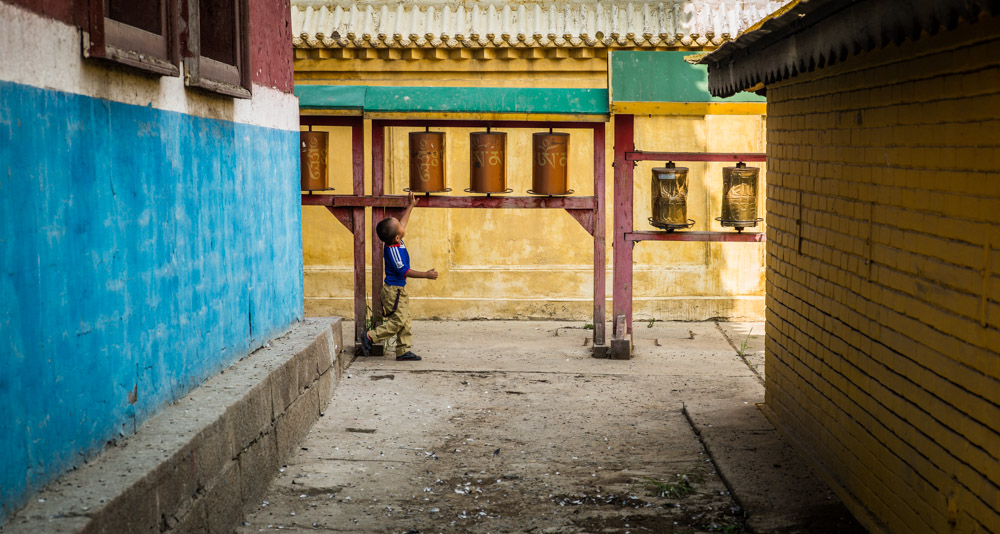
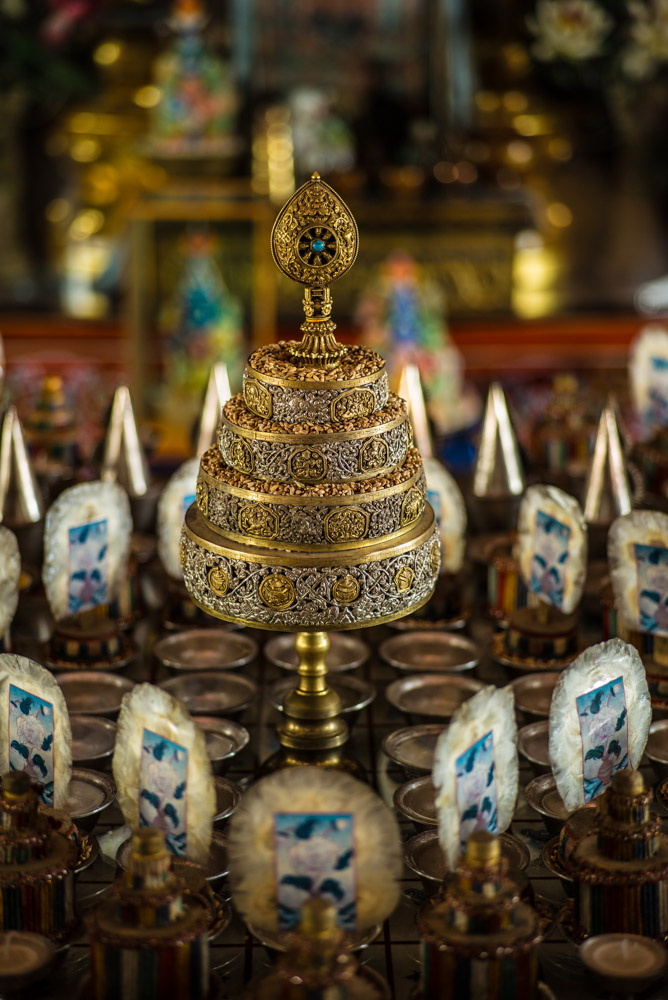
On the subject on image quality, I had high expectations and I was not disappointed. The M produces absolutely superb images and the lenses are sharp from edge to edge at almost any aperture. Mongolian temples are rich in texture so being able to record those details at 24 MP was a joy. I have done some 20“ x 30” prints from some of the temple interiors and they look amazing.
However, “it’s not all beer and skittles” as they say in England; I did find a couple of design features a bit less than optimal.
The exposure compensation feature is a bit fiddly. The front button is too small and deep for big (or gloved) fingers and needs to be held very firmly depressed to trigger the compensation display in the viewfinder. You need to hold it and move the rear dial at the same time and this is quite awkward. I’d prefer to see the button toggling on the compensation for a few seconds rather than needing to be held in as you set the dial. Exposure compensation does not show at all in the EVF until you actually set it to anything other than zero – pressing the button does not trigger a 0.0 reading like it does in the rangefinder window, making you wonder if it’s even working.
I’d love to see exposure compensation accessed from a clickable rear dial like it is on the S2, but that would mean a hardware change. Just allowing the front button to toggle on and off the Exp Comp rather than needing to be held depressed would be a big step forward.
The other slight disappointment is for long exposures. The S2 has a limit of 120 seconds, the M is limited to 60 seconds. However, on both cameras this limit is reduced for each ISO step upwards so at ISO 1600 you are restricted to 8 seconds. This makes it difficult to use the wonderfully fast Summilux lenses for night sky shots which require 30 second exposures at ISO 1600. You can just about capture star shots at f/1.4 and ISO 400 for 30 seconds but ideally you’d want to use a higher ISO.
Those gripes aside, in the field the M is a delight to use. I really like not having to lug around a heavy camera and the discrete size makes for less obtrusive photography — something historically associated with M series cameras anyway. One body and four lenses fits easily into a photo vest or small waist pack which is much more comfortable than using a heavy backpack which needs to be unslung each time you want to swap lenses.
During our trip we travelled long distances using in Russian-built 4×4 Furgons on roads that hardly deserved the name. Having a light camera system meant I could be out and shooting very quickly if we came across a photo opportunity and the build quality of the camera was very reassuring in such rough conditions.
I am also totally sold on knowing that I am using the best lenses money can buy — and getting 24 MP of gorgeous low noise resolution out of them. Without going to bigger medium format cameras like the S there are few, if any, cameras that can match the files that my M produces.
– Nick Rains
Comments (4)